Hotspot Textures in Team Fortress 2
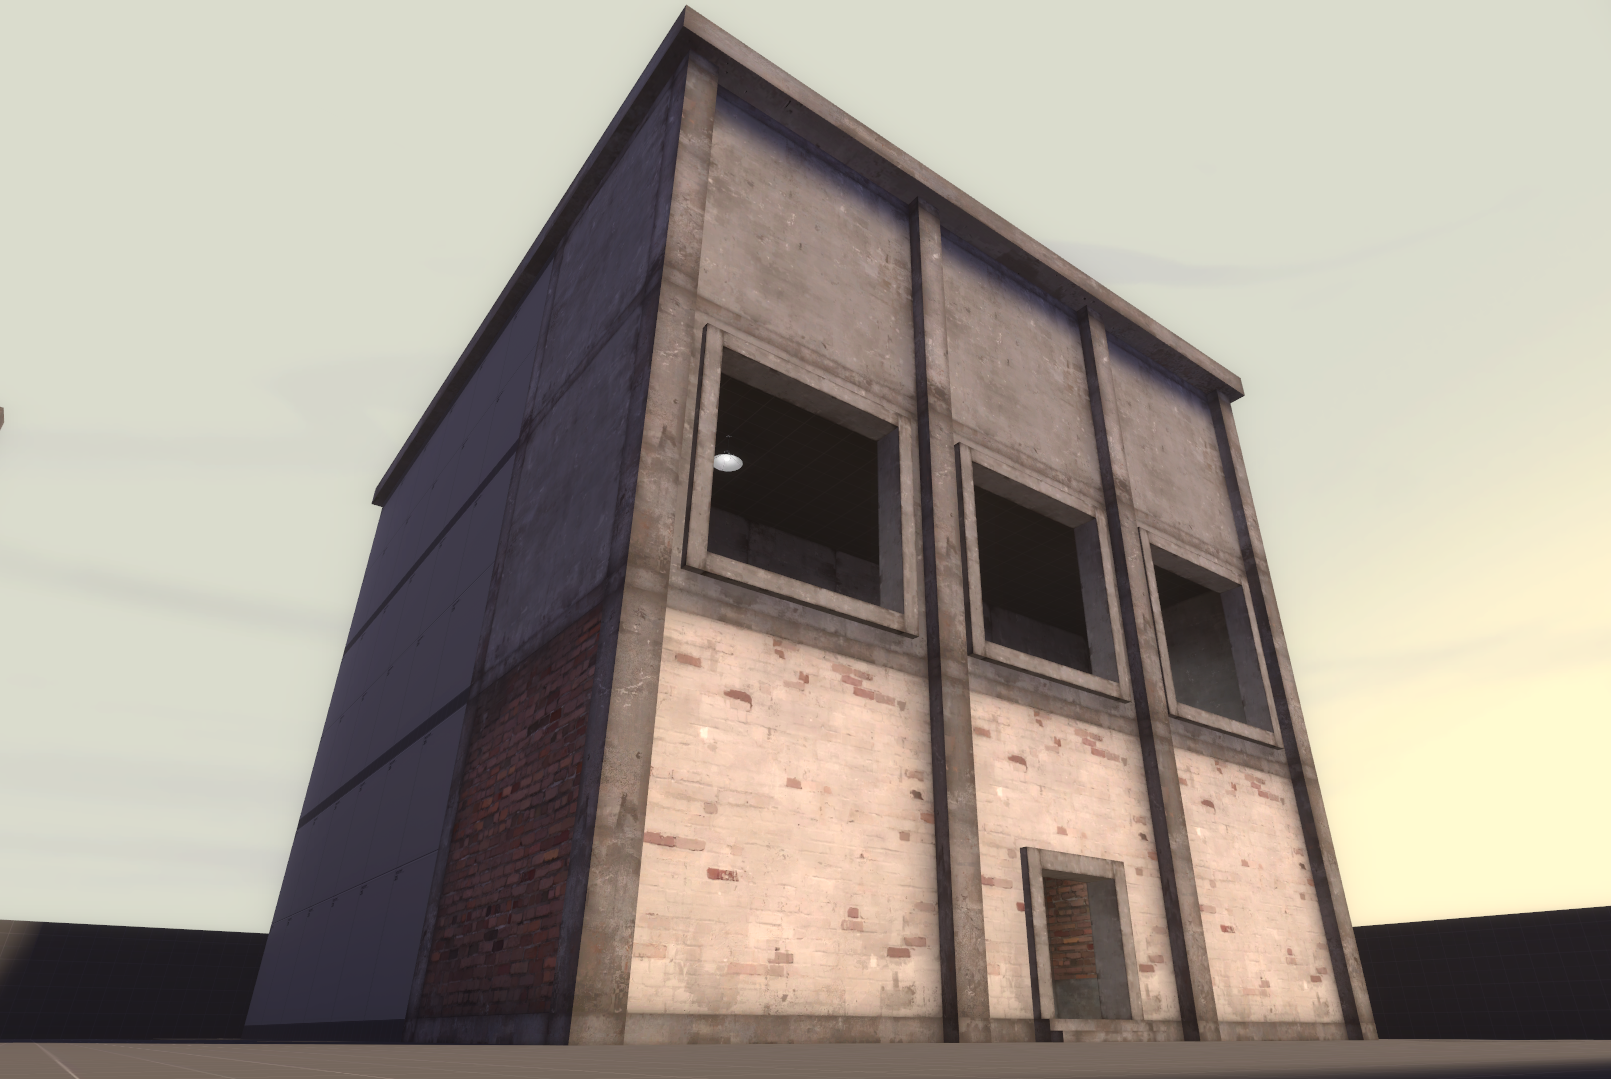
At the end of 2025, I created some TF2 styled hotspot textures for the TF2Maps.net 72Hr Jam. It was really fun exploring and creating hotspot textures for a engine that still uses BSP and has very limited UV tools. I’ve decided to create a blog showcasing the process into making hotspots since this method of texturing environments can be very useful for TF2 maps or maps in any other Source Engine games.
What are hotspots?
Hotspot texturing is a method where you create a large texture with predefined rectangles and unwrap geometry onto those rectangles. This method of texturing environments is used extensively in games like Half-Life: Alyx.
Using hotspots has a few advantages. They are very simple to create and use, you can have a lot of unique variations in the texture while being a single material, it can reduce drawcalls, and provide wear on corners or edges without using decals.
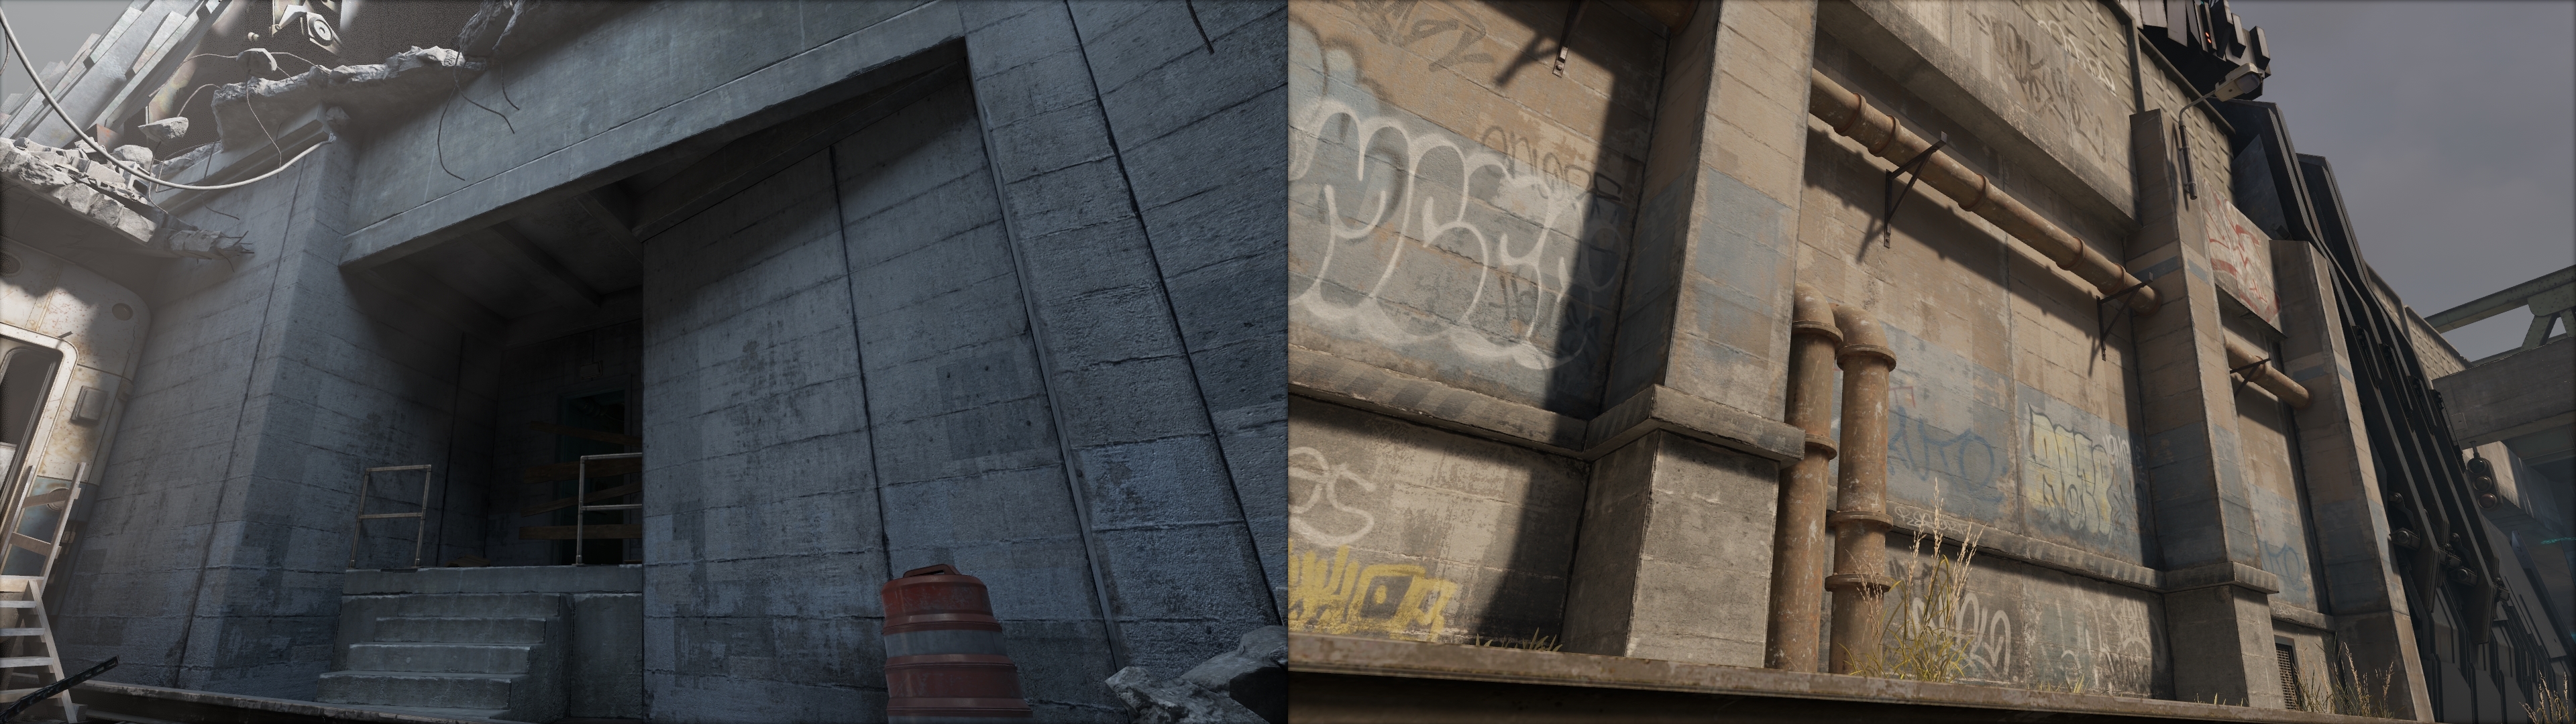 Two examples of Half-Life: Alyx’s concrete hotspot materials. Edge wear on the concrete panels and most of the graffiti is baked into the hotspot material. Reducing the usage of decals.
Wait, you can use hotspots in Source 1?
Yes you can! Well, kind of. You can’t use hotspots if you’re using Hammer that is included with TF2. Using hotspots in your maps requires two community made tools. Hammer++ for unwrapping brush faces onto hotspot rectangles and RectMaker for defining those hotspot rectangles.
Authoring hotspot textures
Hotspot layout
Picking a hotspot layout for your texture is entirely depends on what kind of geometry you’re building then creating the best layout for that purpose. How tall and wide the brushes should be and how can it be represented in the hotspot layout? Standardizing the size of the brushes can inform your decision on what kind of layout you need.
In this case having a zoo map that demonstrate the usage of your hotspots is very useful to have as a reference. This is also extremely helpful to have if you’re collaborating with another artist who is planning to use your hotspots.
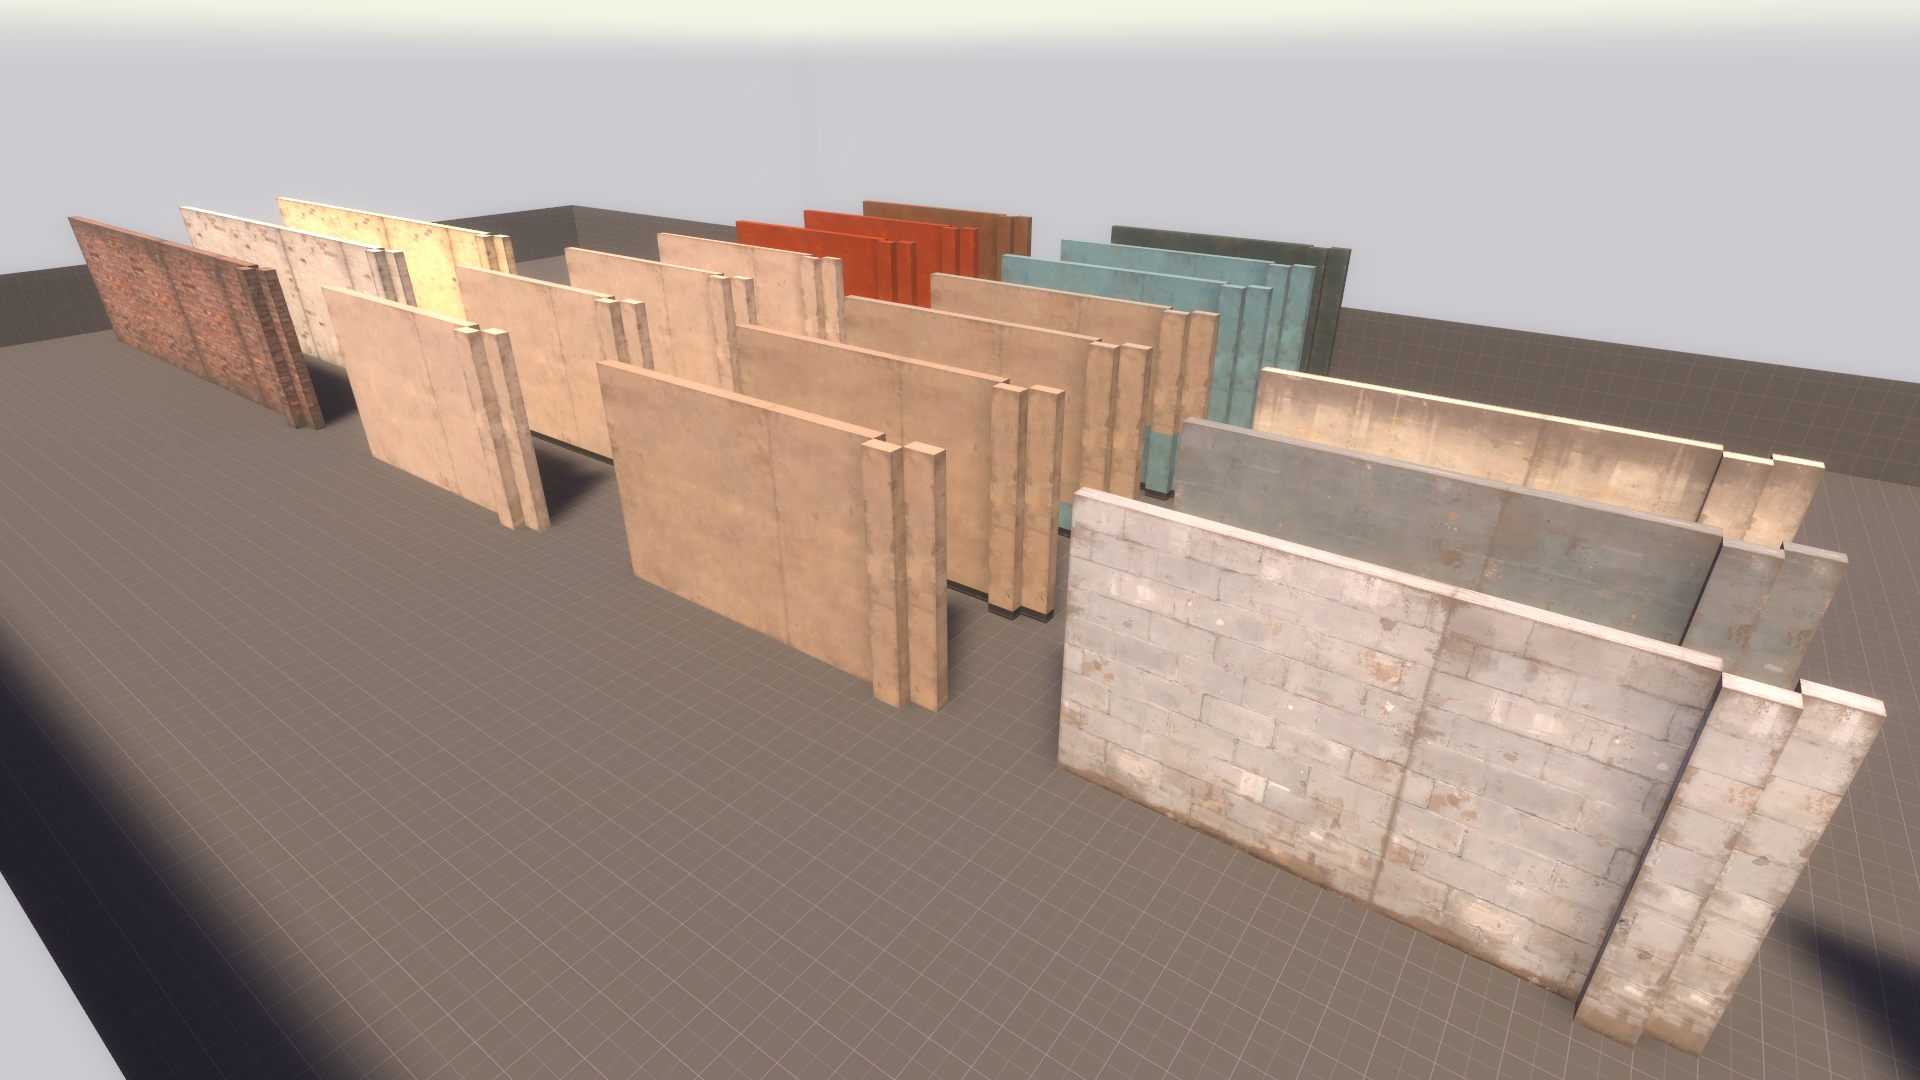
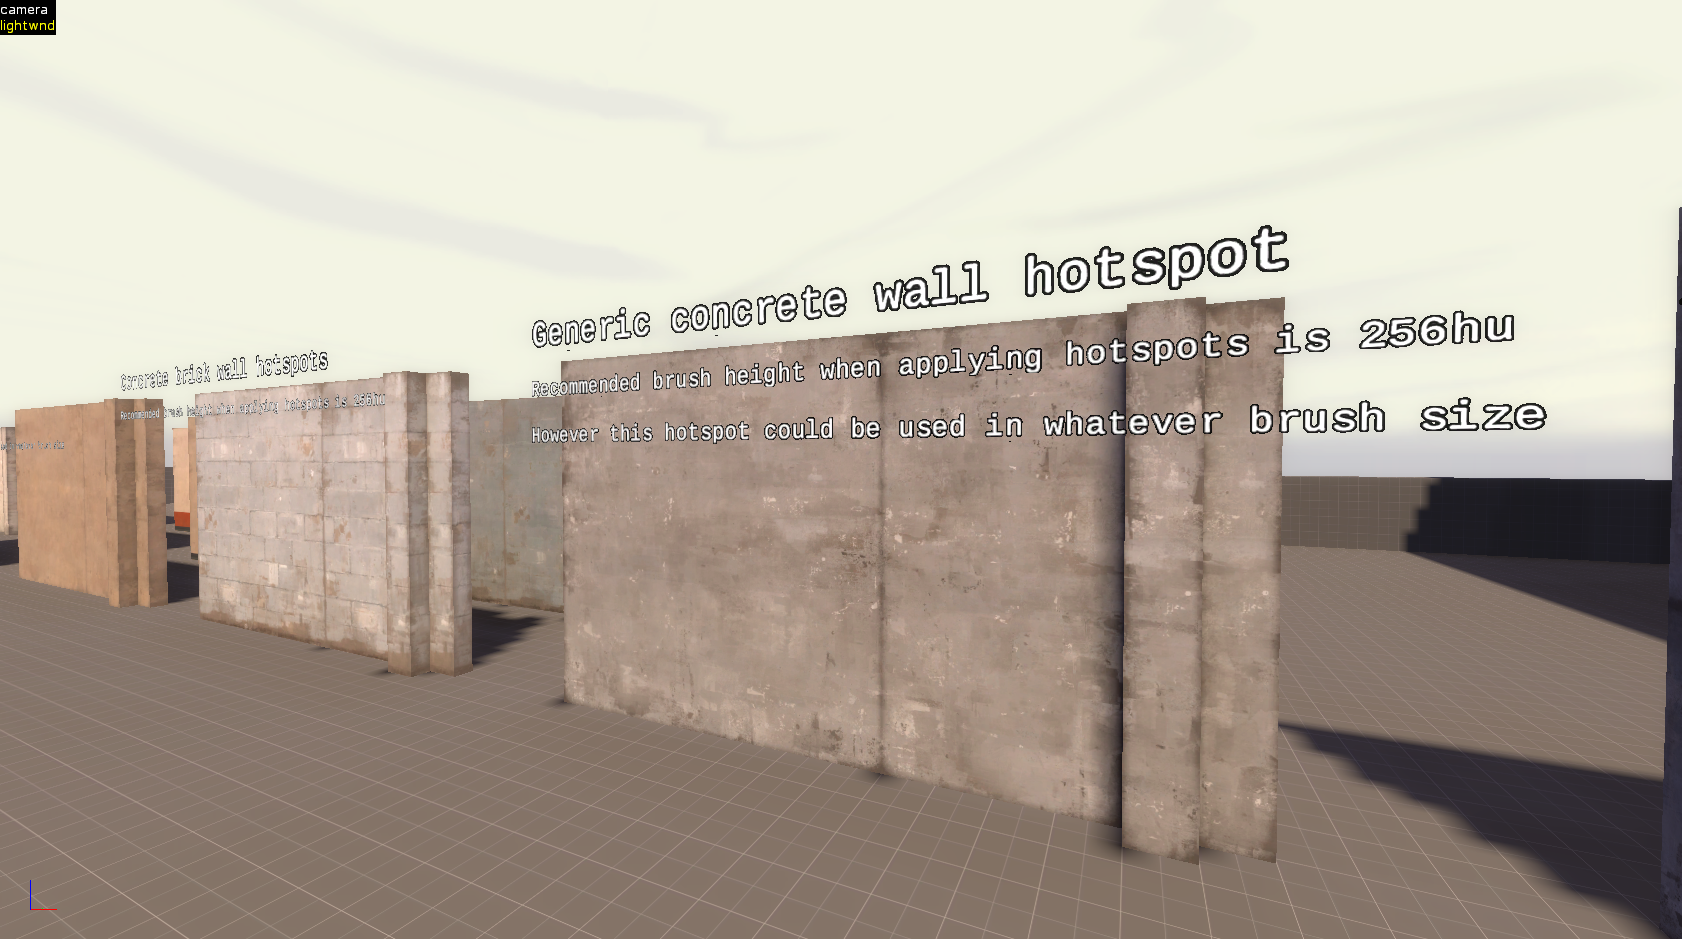 A hotspot zoo map that was included with the TF2Maps 72hr Jam submission
Texture resolution and texel density
In addition of creating a hotspot layout is also deciding on the texture resolution and texel density of the hotspot texture. Most of the hotspots I created use existing tiled materials as a base. One goal I had in mind is that my hotspots should have the same texel density of the original tiled material.
Most tiled materials in TF2 has a resolution of 1024x1024 and meant to be used on fairly large brushes at the default texture scale of 0.25. With that in mind I created my hotspots with a canvas that’s 2048x2048 then tiled that original material four times on the canvas. With that resolution I don’t lose any detail from the original material and it would have the same texel density assuming if the hotspot is applied on a reasonable sized brush.
Keep in mind that Hammer++ will pick the closest matching hotspot rectangle based on the size of the brush face. So if you have a brush that’s slightly bigger or smaller than the hotspot rectangle then it will stretch or squish. This is fine on most hotspots, however if the hotspot has a specific pattern like bricks then make sure you’re not creating brushes that would cause the hotspot to stretch or squish.
Color map
Many of the hotspots I made for the jam is using hotspot layouts that could be seen in Half-Life: Alyx. For the texture I will be covering in this blog I chose this specific hotspot layout. Most of the hotspots in that HLA that uses this layout is commonly applied on walls that is 128 units high. However for most of my hotspots it’s recommend that those materials are applied on 256 unit high walls.
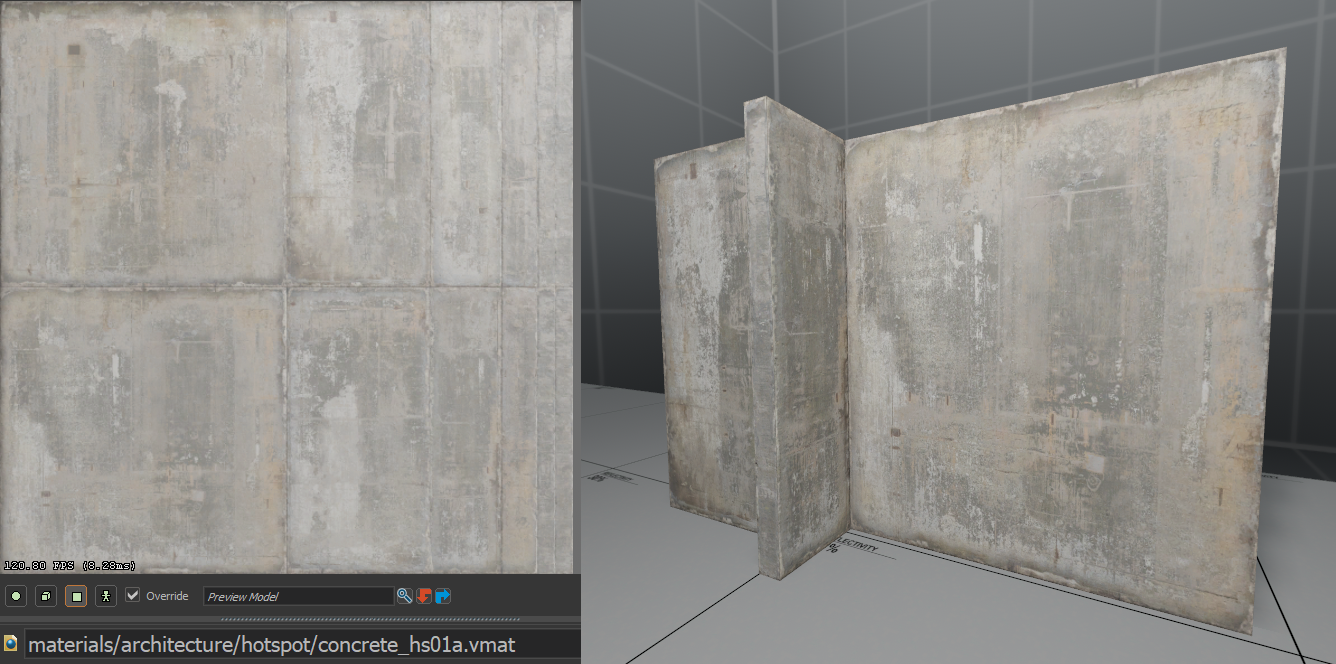
I went into Photoshop and created a 2048x2048 canvas then I started remaking the layout by creating multiple rectangles with the shape tool on a grid.
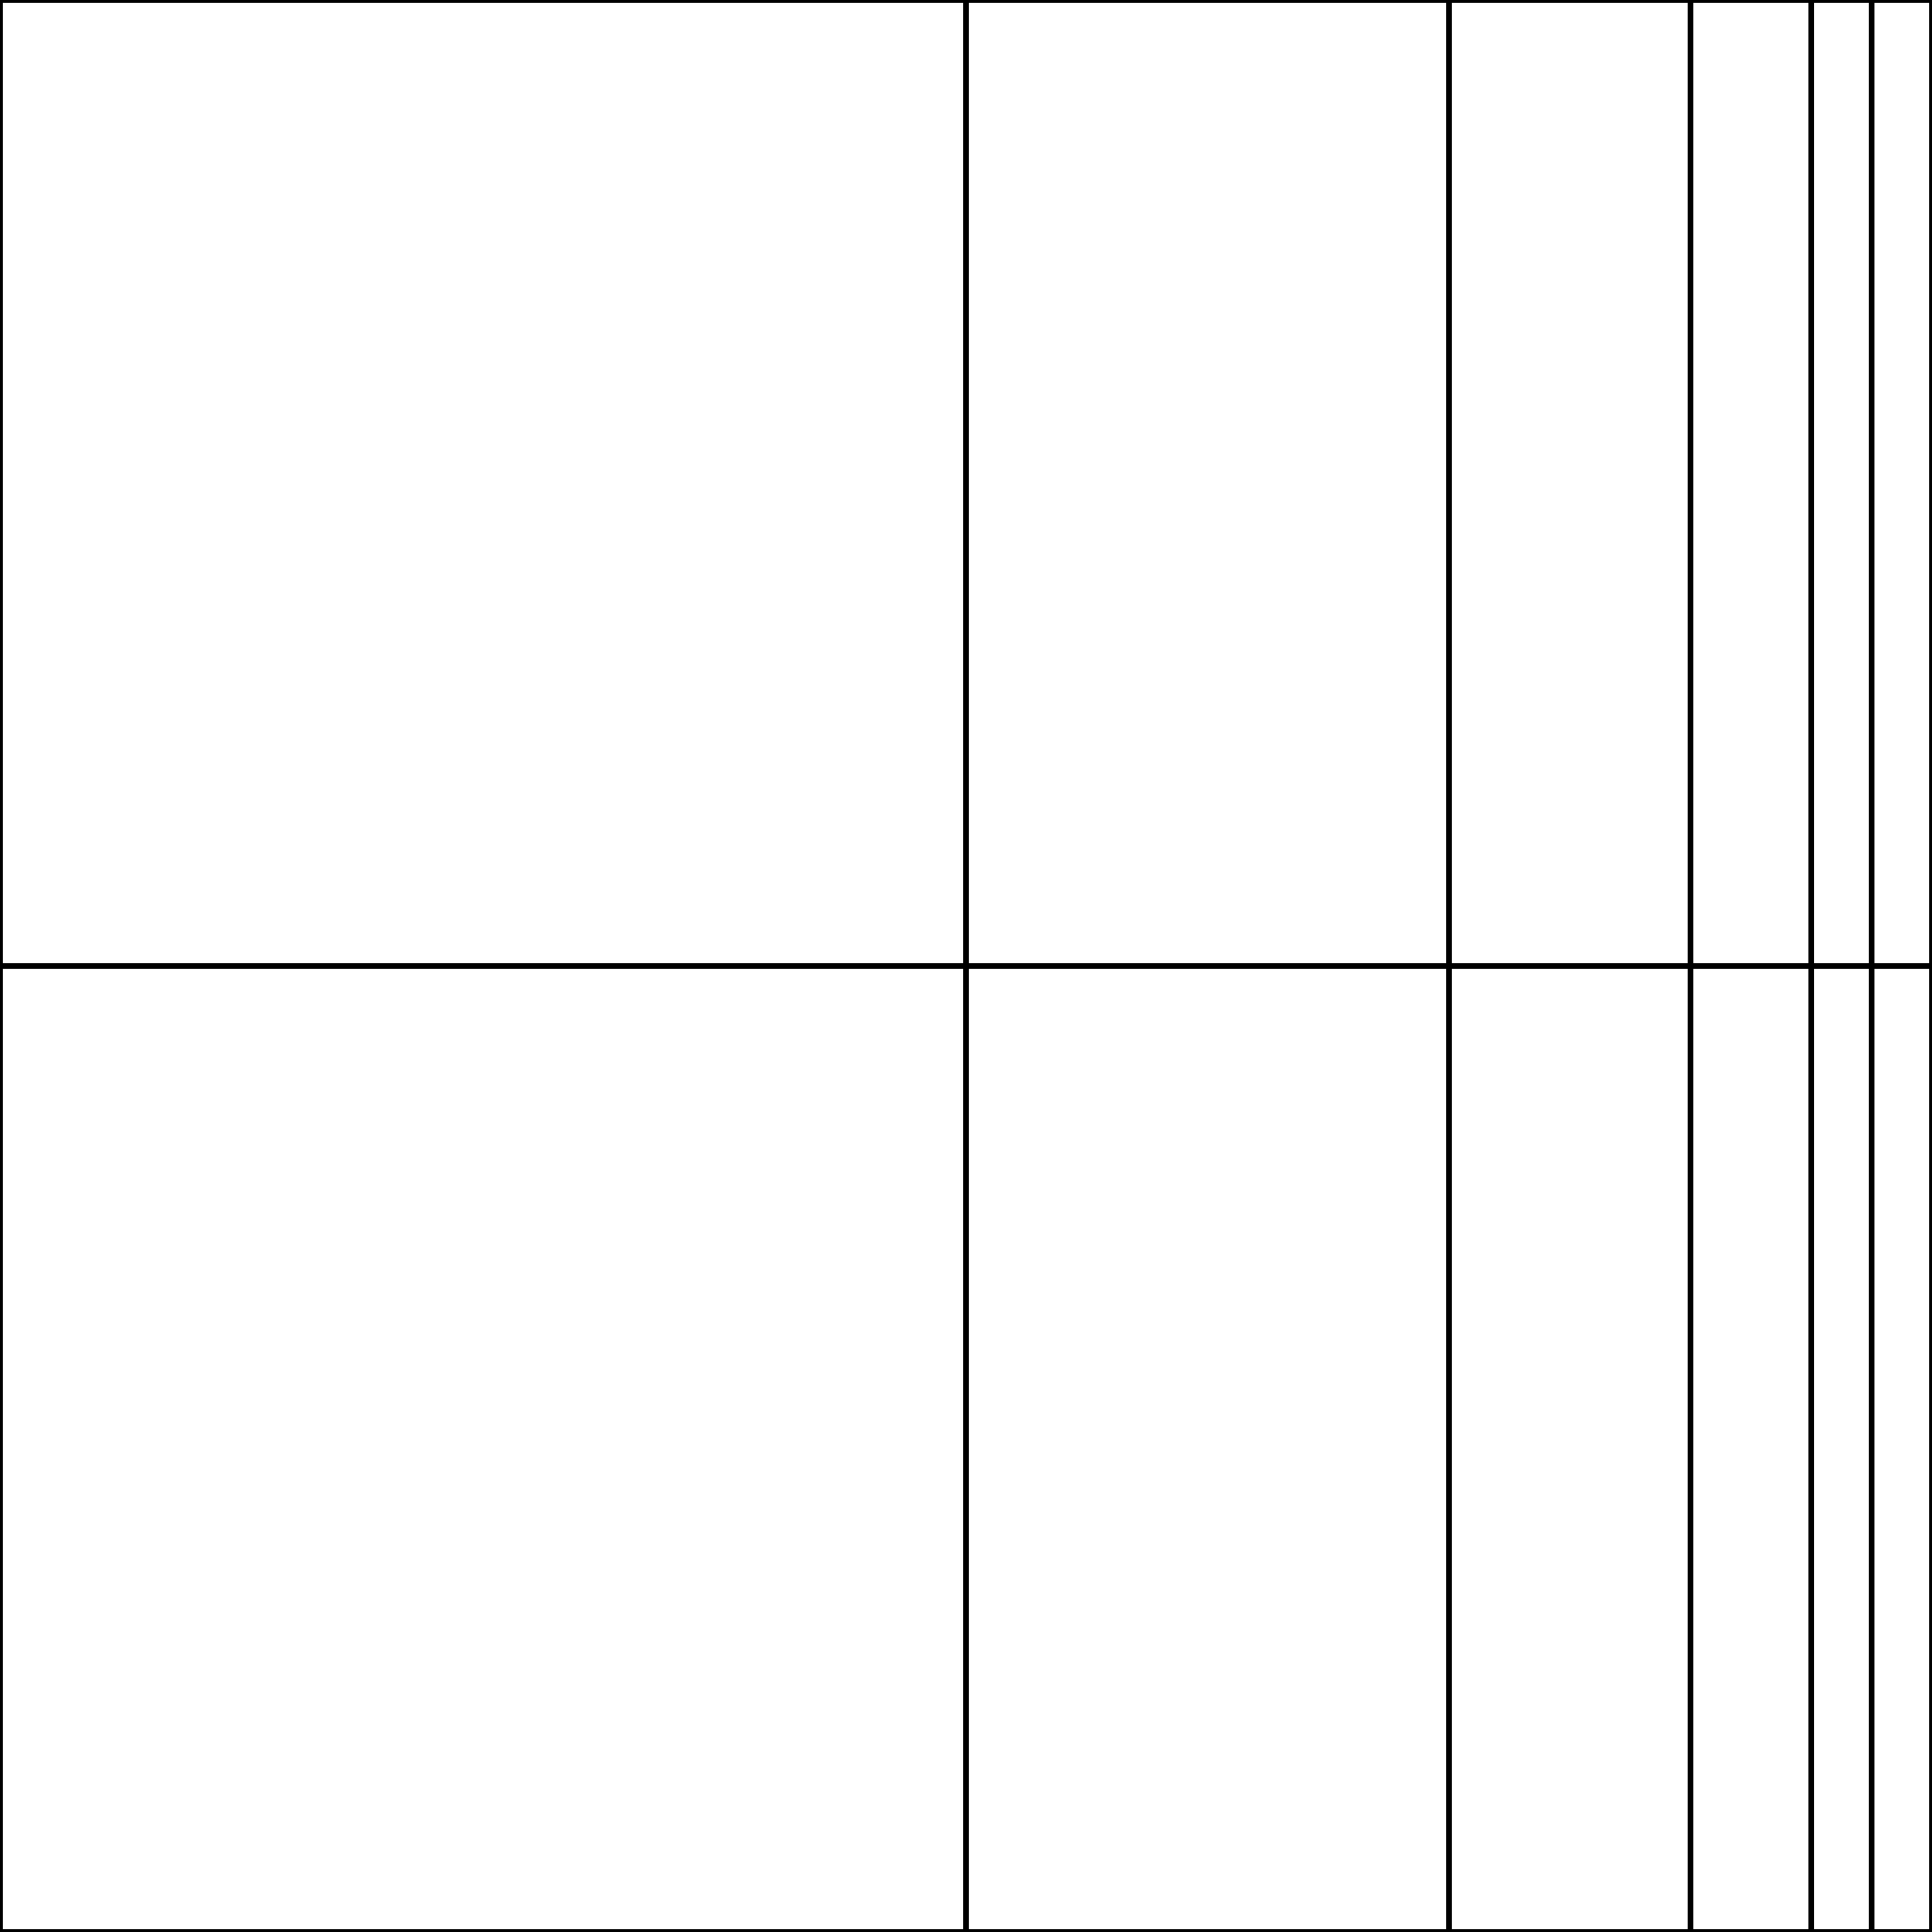
Now since each rectangle is on a separate layer. I can use a combination of layer effects and layering existing textures to help me build detail quickly. With this I created a very simple mask of dirt building up near the edges of the rectangles. I gave all of the rectangles a inner glow and overlayed it on top of a grayscaled version of a existing concrete texture from TF2 and gave it a few more adjustments.
Now I can start working on the color for this texture. The actual texturing in this part of the process is very simple. It’s mostly bashing and modifying other existing TF2 textures and then painting in or out any detail that I wanted and tweaking the colors.
Implementation
Now that this texture is done and it doesn’t need any other texture maps. I bring the texture into the engine and setup the material. However I need to define all of my hotspot rectangles so that Hammer++ knows the layout of the hotspot material. Using RectMaker, I imported my texture and started tracing over the rectangles.
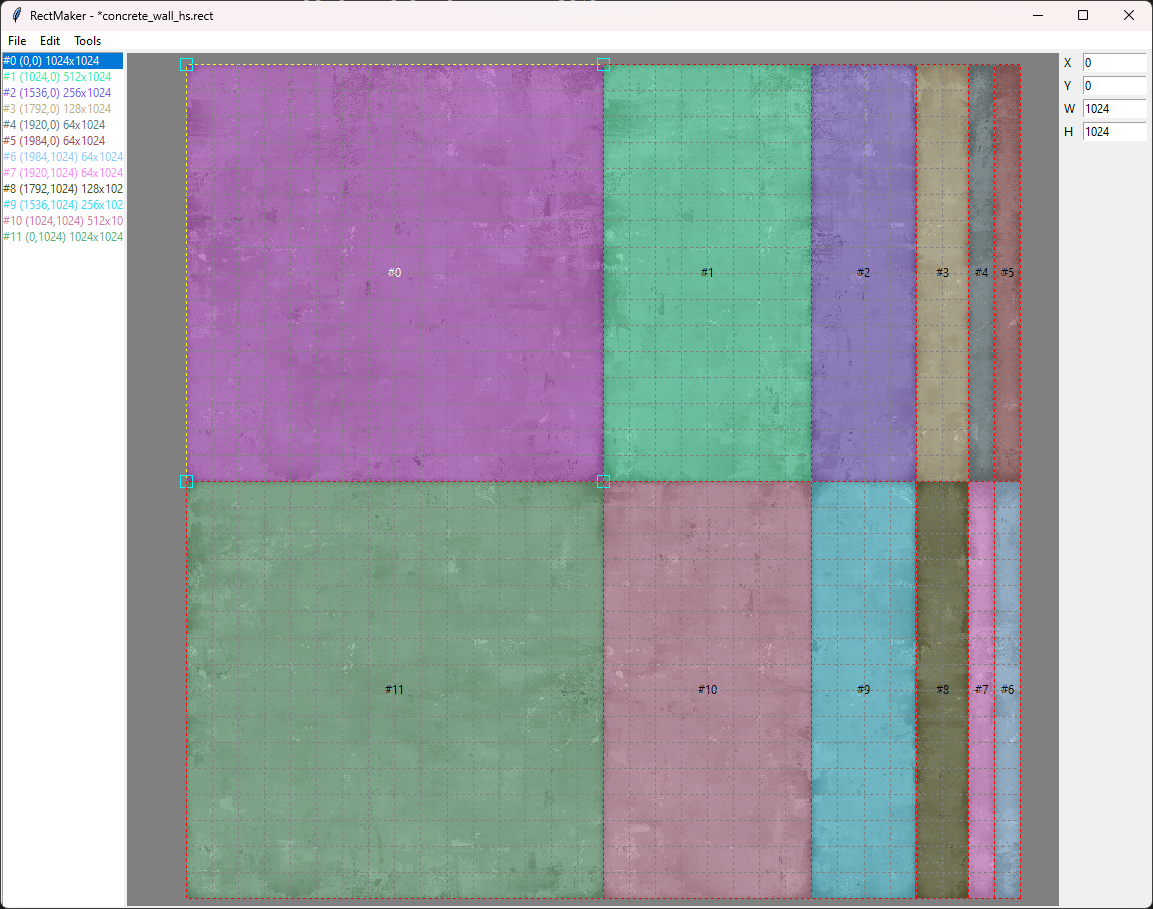
Once I have traced over the rectangles inside of RectMaker, I saved the rectangle definition file somewhere in the materials folder where I can easily find and then reference it inside of the VMT with %rectanglemap.
"LightMappedGeneric"
{
	"$basetexture"	"hotspot/concrete/concretewall_gray_hs"
	"%keywords" "tf,hotspot,concrete"
	"$detail" "overlays/detail001"
	"$detailscale" "3.8"
	"$detailblendmode" "0"
	"$detailblendfactor" "1"

	"%rectanglemap" "hotspot/concrete/concrete_wall_hs"
}
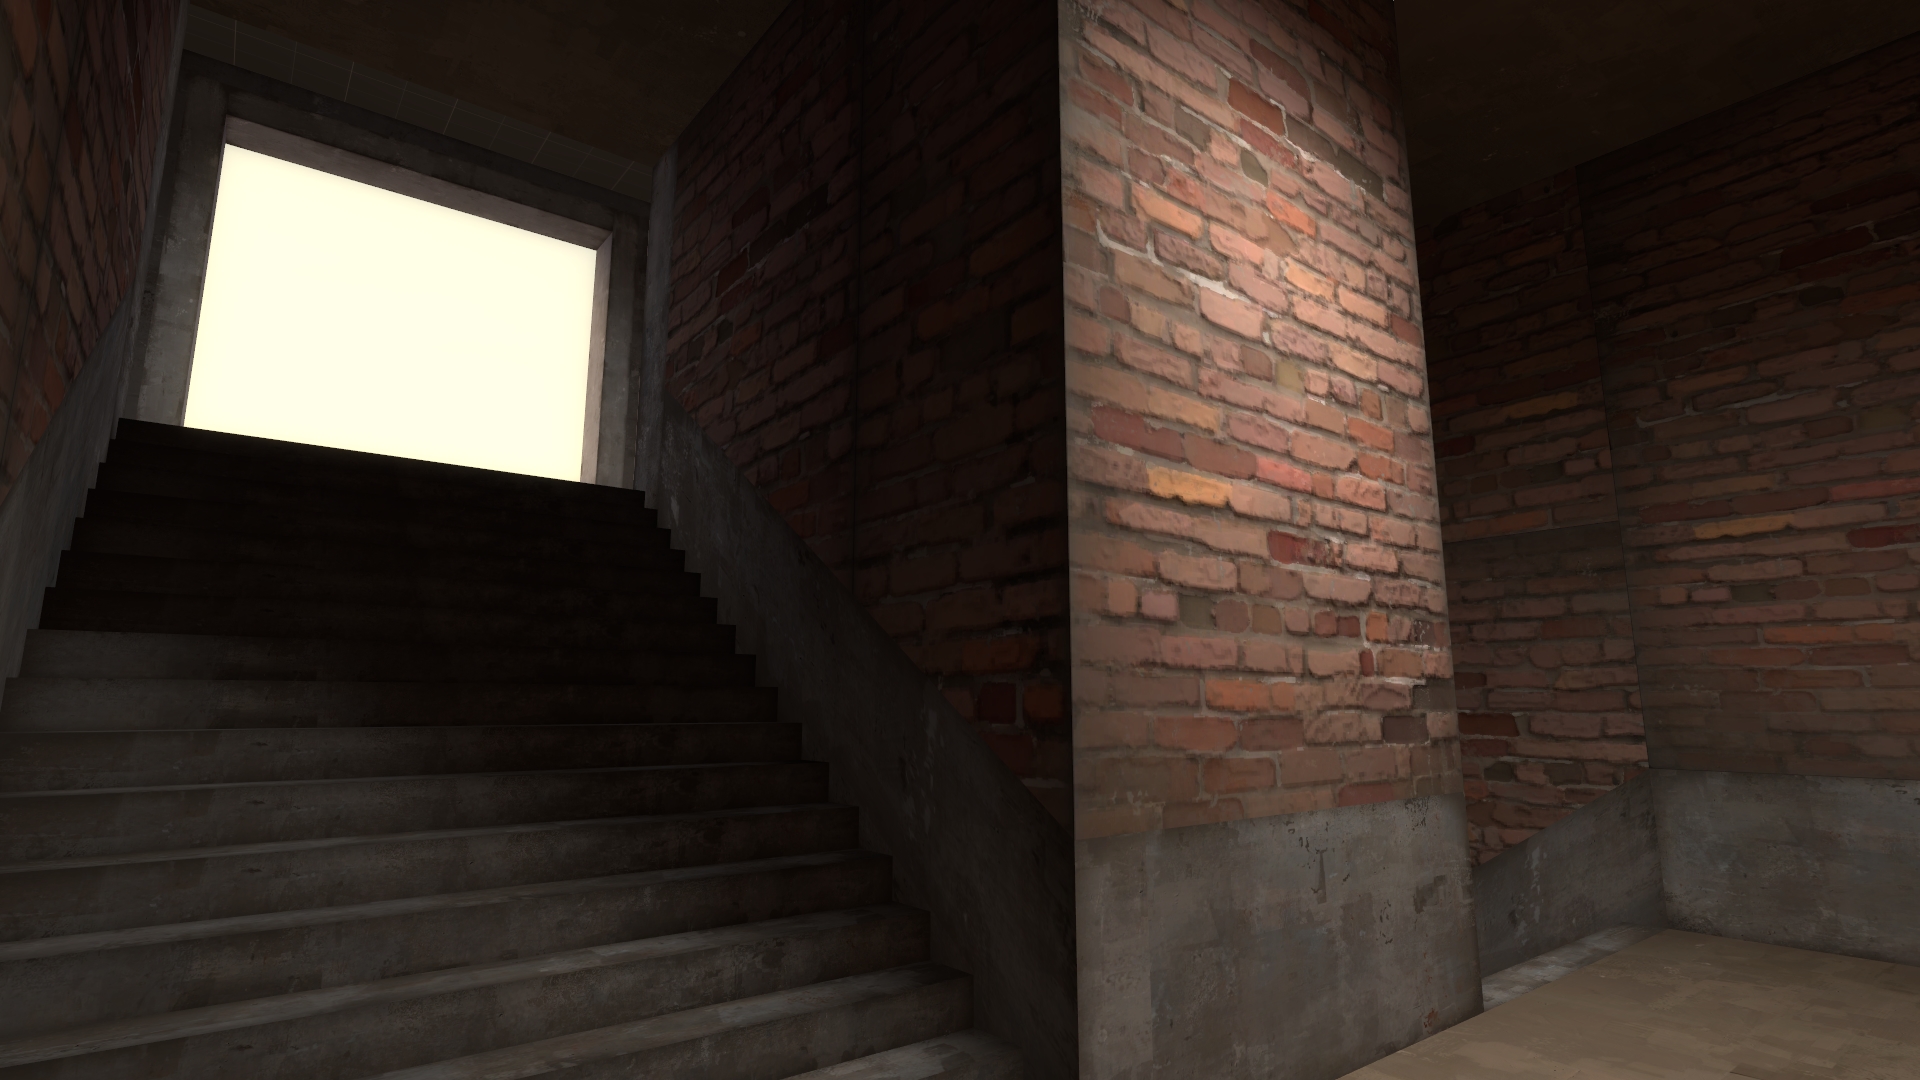
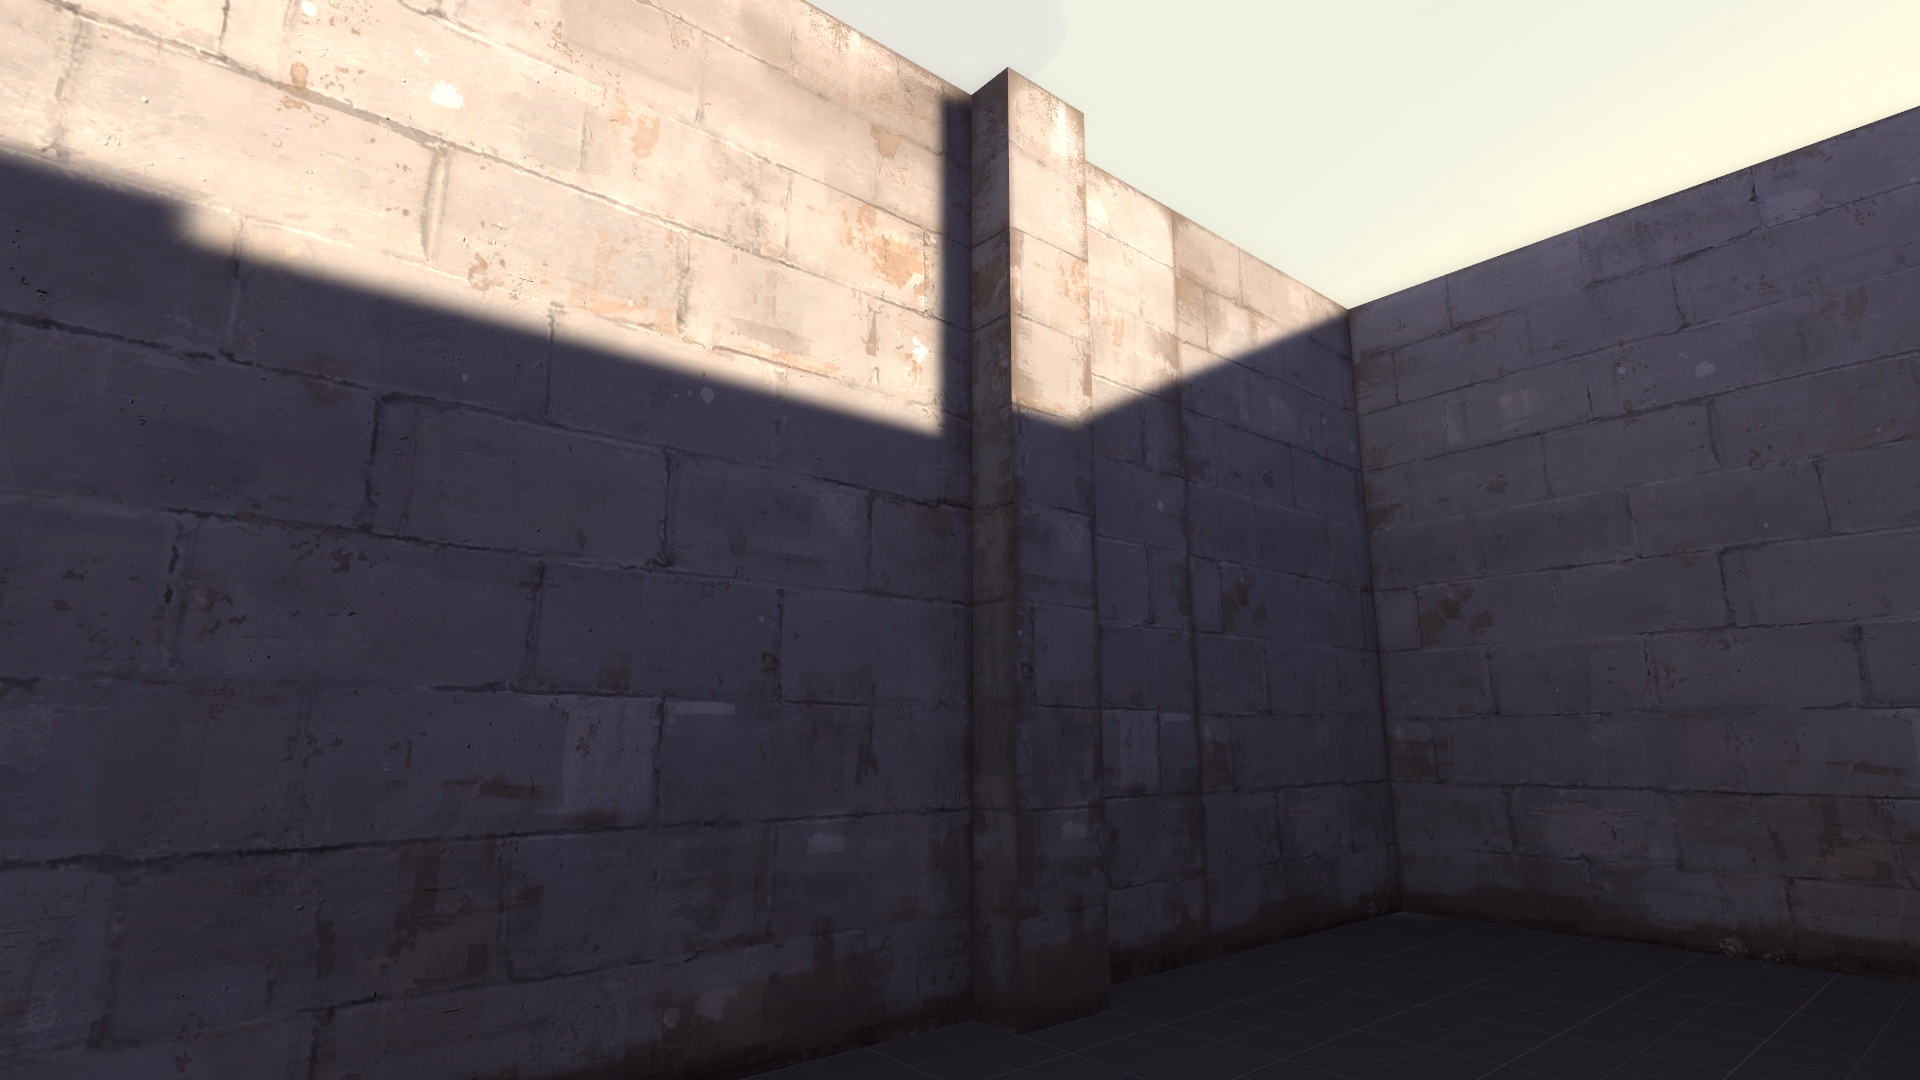
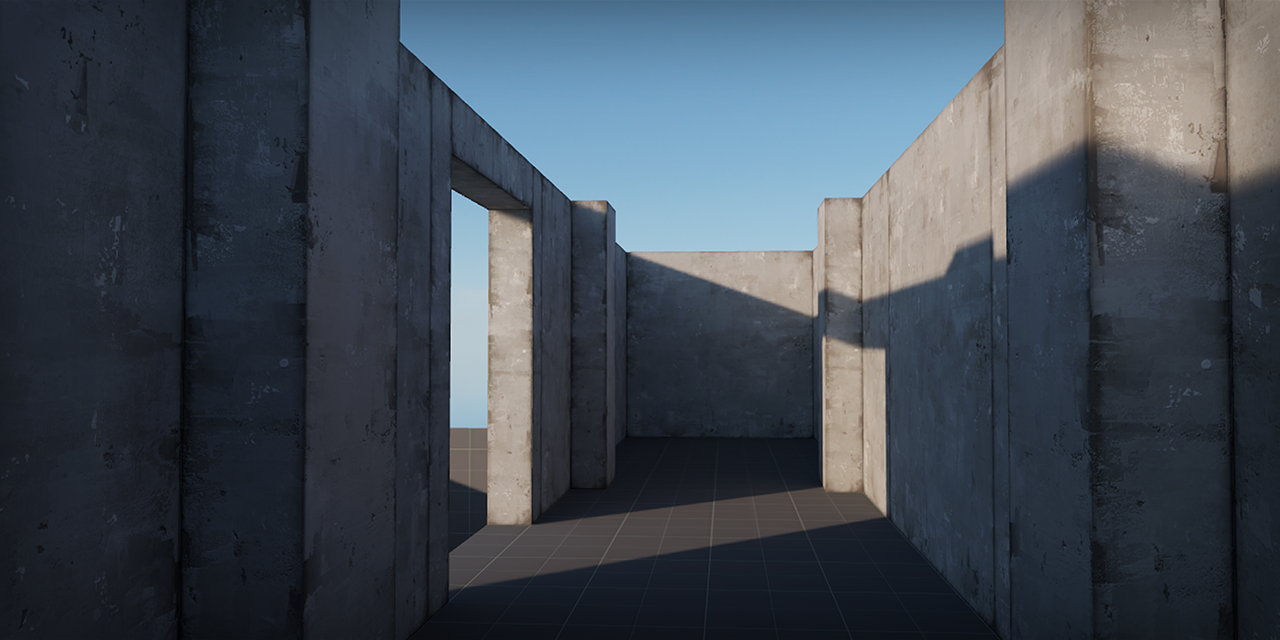
Now everything is all done! I can unwrap brush faces onto a hotspot rectangle by selecting the faces with the Texture Selection Tool and clicking on the “Fit” button. Here’s some screenshots of basic structures that I textured with multiple hotspots I created for the jam.